

Cooler air = lower humidity. Skin loses water faster and can feel rough or tight. The fix isn’t heavy grease; it’s smart layering—light to rich—so hydration stays put and skin feels comfortable.
Layering basics (thin → thick)
-
Hydrating base (serum/essence)
-
Apply to slightly damp skin for a bouncy feel.
-
-
Moisturizer (ceramides/emollients)
-
Cushions the barrier and reduces water loss.
-
-
Optional occlusive step (at night)
-
A balm or richer cream over dry areas only.
-
Choose your texture by skin feel
-
Tight or flaky: Hydrating serum → ceramide cream → small amount of balm on cheeks.
-
Oily T-zone / dry cheeks: Hydrating serum → light gel-cream overall → dot ceramide cream on drier spots.
-
Balanced but dull: Hydrating serum → moisturizer; add Niacinamide 3–4x/week for a smoother-looking finish.
AM vs PM
-
AM: Hydrating serum → Moisturizer → SPF.
-
PM: Hydrating serum → Moisturizer → (optional) balm on dry patches.
Common mistakes to skip
-
Too much actives at once: introduce gradually.
-
Over-exfoliating: space out; keep the barrier comfy.
-
Skipping moisturizer because you’re oily: use a lightweight, fragrance-free gel-cream.
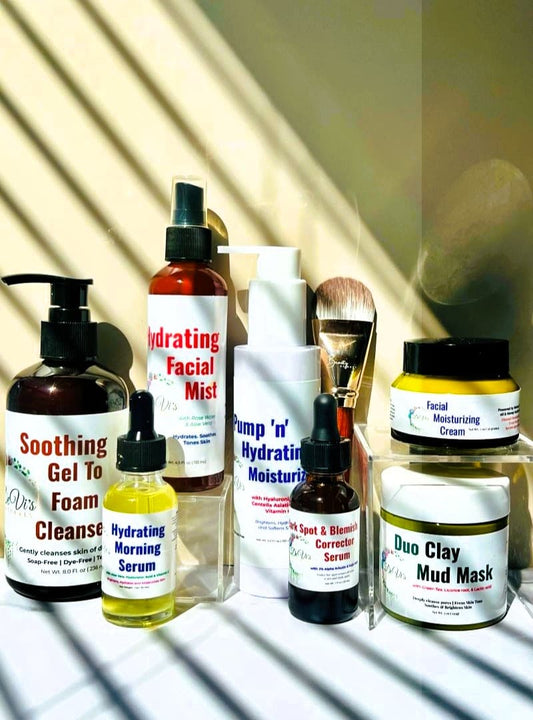
Quick picks
-
Hydration (serums & creams) →
collections/hydration -
Brighten & Even (Niacinamide/Vit C) →
collections/brighten-even -
Men’s Essentials →
collections/mens
Mini FAQ
Will layering feel greasy?
Choose lightweight textures first; use richer cream only where you need it.
Do I “need” a balm?
Only if you’re very dry or wind-exposed—use sparingly over moisturizer at night.
Build your cool-weather stack in 2–3 steps—comfy, fragrance-free, and effective.
